By Krista Halling DVM DACVS
Want an everyday mobile basecamp for adventuring with your dog? Minivans are an under-appreciated solution. In this first article of a series on the reversible DIY build that River and I are doing in our Toyota Sienna minivan, we highlight the benefits of a minivan camper and our goals for the camper conversion.
After a few years of camping in our 1984 VW Westfalia, we’re selling it to build a more modern campervan. My goals were to find a van with these features:
- small enough to fit in a conventional parking space
- used as an everyday vehicle
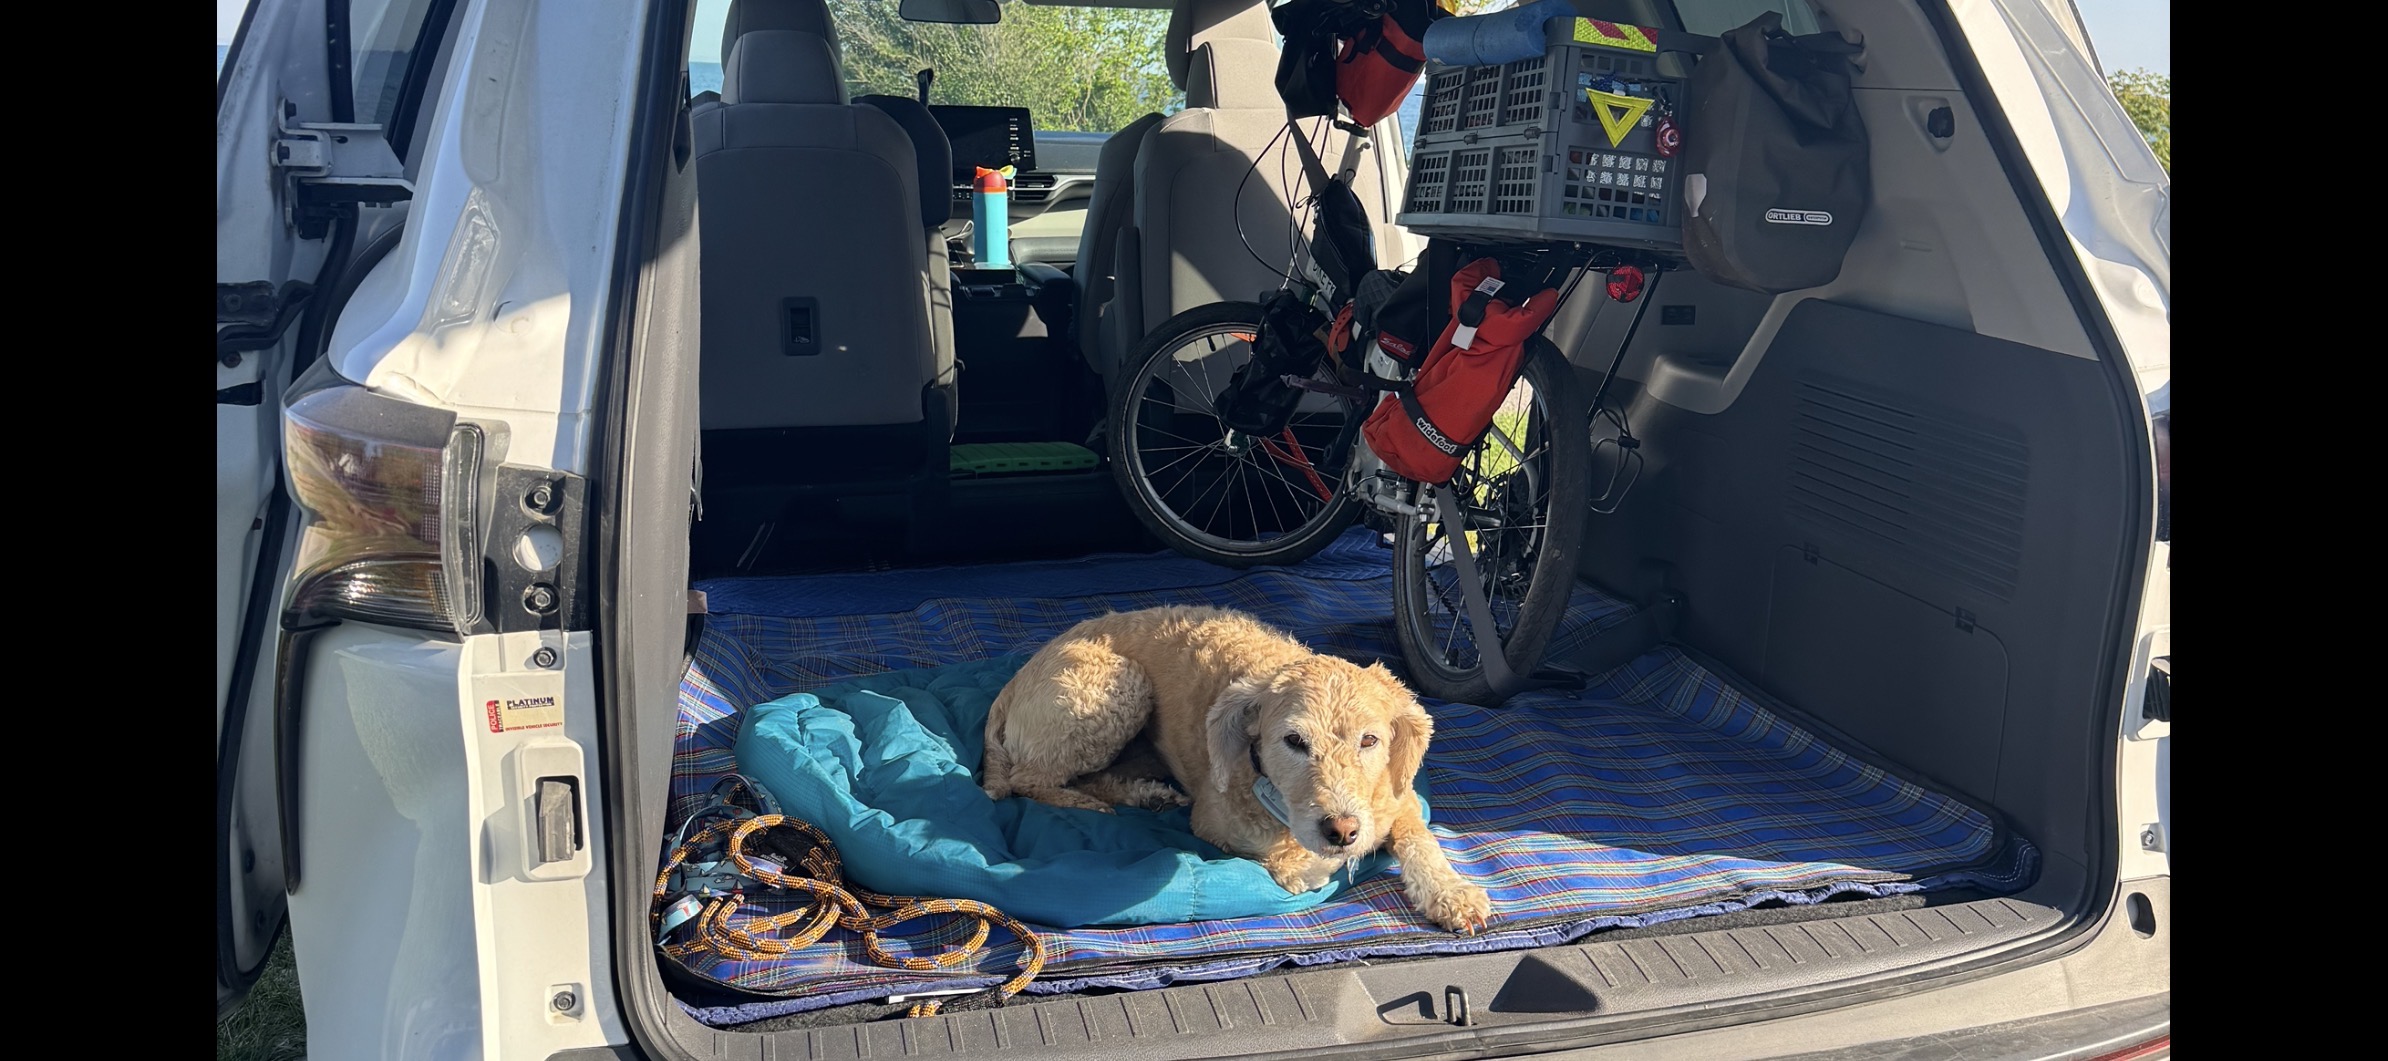
- accommodate our small-wheel bike inside
- handle dirt roads
- available in Canada
- doesn’t cost a fortune (i.e. under $50k CAD all-in)
While I love the look and size of the VW Westfalia and Ford Econoline, I wanted something newer. Sprinter vans were above my budget. The Toyota HiAce is awesome but not readily available in Canada. I was considering a Ford Transit AWD when further online research led me down the rabbit hole of minivan camper conversions.
Why a minivan?
Low purchase cost
Minivans (especially pre-owned) are relatively inexpensive, compared to some of the large RV and Sprinter-type camper vans – the latter can cost $150-250K as a completed camper.
Readily available
Minivans remain one of the most popular vehicle types and hence are ubiquitous in the new and used car market. This also makes them easy to resell or trade-in.
Reversible build
Removing the seats allows you to do a reversible camper conversion, so that if you decide to sell or trade in the minivan in the future, you can remove the camper build, reinstall the seats, to revert it to the original stock minivan. This not only preserves the value of the minivan, but it allows you to move the build over to another van in the future; an option that is much less expensive that having a non-transferable custom build.
Better fuel economy
Compared to larger camper vans and camper-converted pickup trucks, minivans are relatively fuel efficient — a factor which can make a big financial difference on long road trips or if your camper is also your everyday vehicle.
Manueverability
It goes without saying that minivans are relatively nimble and easy to drive – a feature which is valuable when you’re exploring new destinations and winding roads.
Ease of parking
By fitting in a regular parking space, minivans can easily be parked on driveways and in regular parking lots and garages, thus avoiding the often costly expense of dedicated RV parking lots.
Stealth camping
Since their exterior looks like a regular passenger vehicle, a huge plus is that it’s much easier to discretely park a minivan overnight within city limits compared to more overt camper vans.
Bike accommodation
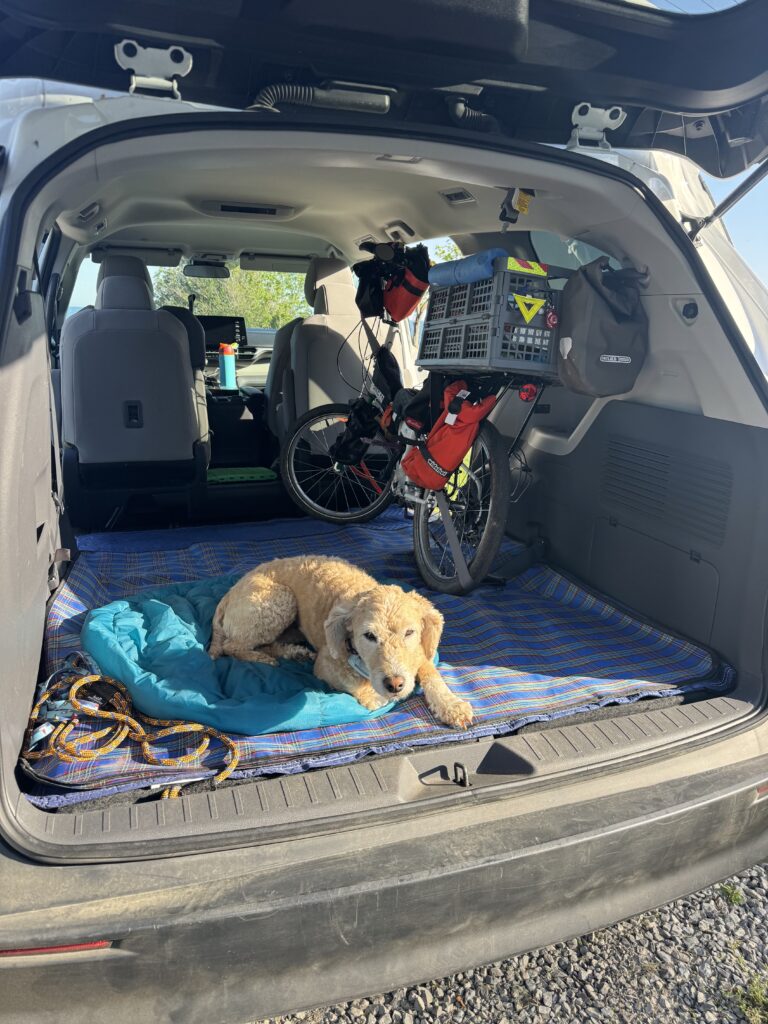
Transporting your bike is still possible. Options with a minivan include a hitch-mounted rack, or, as in our case, travelling with the bike inside the van.
Minivan considerations
The clear flipside of the minivan pro/con coin is that its smaller footprint means less room and less headroom. This can largely be overcome by efficient planning and exterior expansion:
Efficient planning
A quick online search of ‘minivan camper ideas’ will reveal the extensive and creative ways people have elegantly transformed their minivan into their micro living quarters.
You can get by with a tiny space by downsizing the physical size of many regular items (e.g. sink, fridge), being creative and uber-efficient with space planning, and bringing along only what you’ll actually need.
Rooftop storage containers are also popular in the minivan camper scene. As are underbed drawers, and ceiling-mounted cargo nets.
Expanding outside
Another popular solution is to expand your living space outdoors. This can be achieved with a roof-mounted awning, as well as cabinet drawers on sliders, which extend from the tailgate or driver-side sliding door. This creates a sheltered standing-height outdoor kitchen and living room.
Roof height
Minivans also have a low headroom which limits you to sitting or lying down. Aftermarket pop-up roofs are available if you’re looking for stand-up height. But keep in mind that would create a permanent alteration to your vehicle – something which I’m avoiding with our current build. So see point #2: expanding outside.
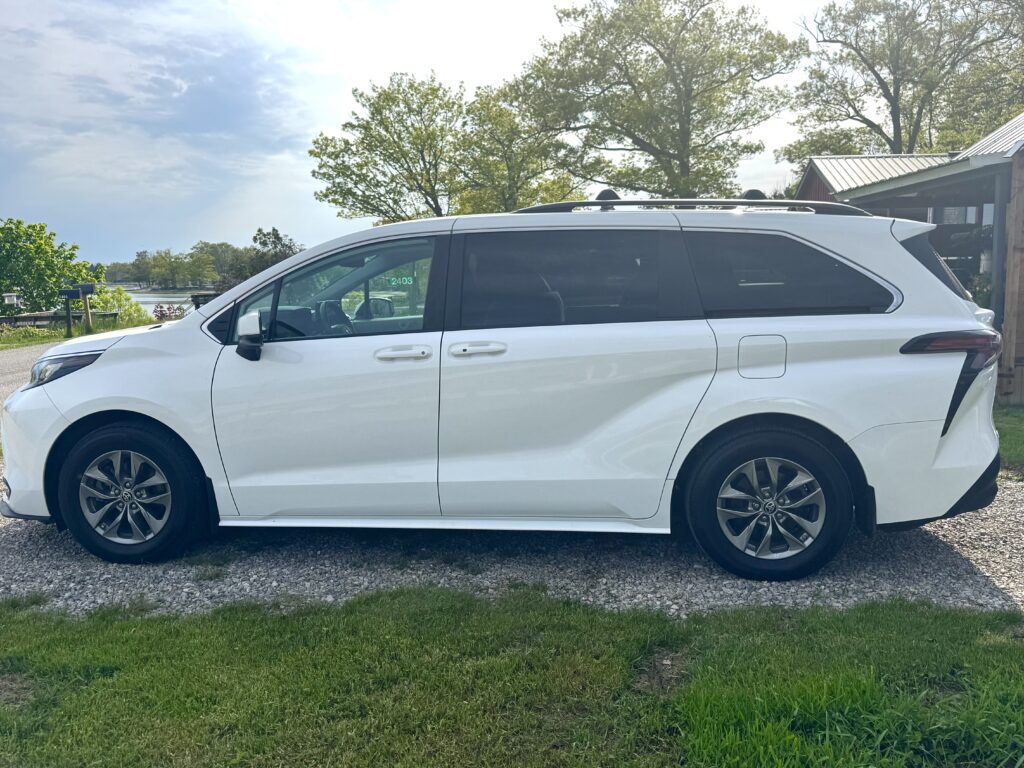
Why we chose a Toyota Sienna
After deciding that a minivan made the most sense for River and my dogpacking needs, we narrowed down the list to the Toyota Sienna, Dodge Caravan, and Honda Odyssey.
While I really like the Dodge Caravan for its boxy shape, easy “stow-and-go” seat removal, and its fairly flat uniform floor, I chose a 2023 Toyota Sienna because it’s available with all-wheel drive and – most importantly for dogpacking – a hybrid engine.
Huge hybrid engine benefits for dogs
The AWD is useful on dirt roads and in winter, and the hybrid engine means that I can run heat and A/C while parked in ‘camp mode’ with the engine turned off. This is a huge advantage when camping and travelling with a dog – you can run heat or A/C all night, with the engine automatically starting up occasionally for a few minutes to recharge the hybrid battery and then it turns off again.
Some disadvantages of the Toyota Sienna for a campervan perspective is that its shape is tapered toward the rear, resulting in reduced width and headroom (and needing to tilt some objects to get them in the car); more finicky seat removal process and left-over seat rails (including needing to insert a couple of third-party resistors into the airbag harness when removing the second row seats in 4th generation Siennas); and an uneven cargo floor (I inserted pieces of foam to even this out).
Despite the above drawbacks, the AWD and hybrid engine of the Sienna still made it the best dogpacking camper option for us. If the Toyota HiAce were available (1) in Canada, and (2) with a hybrid engine, I think that would be our paw-fect camper.
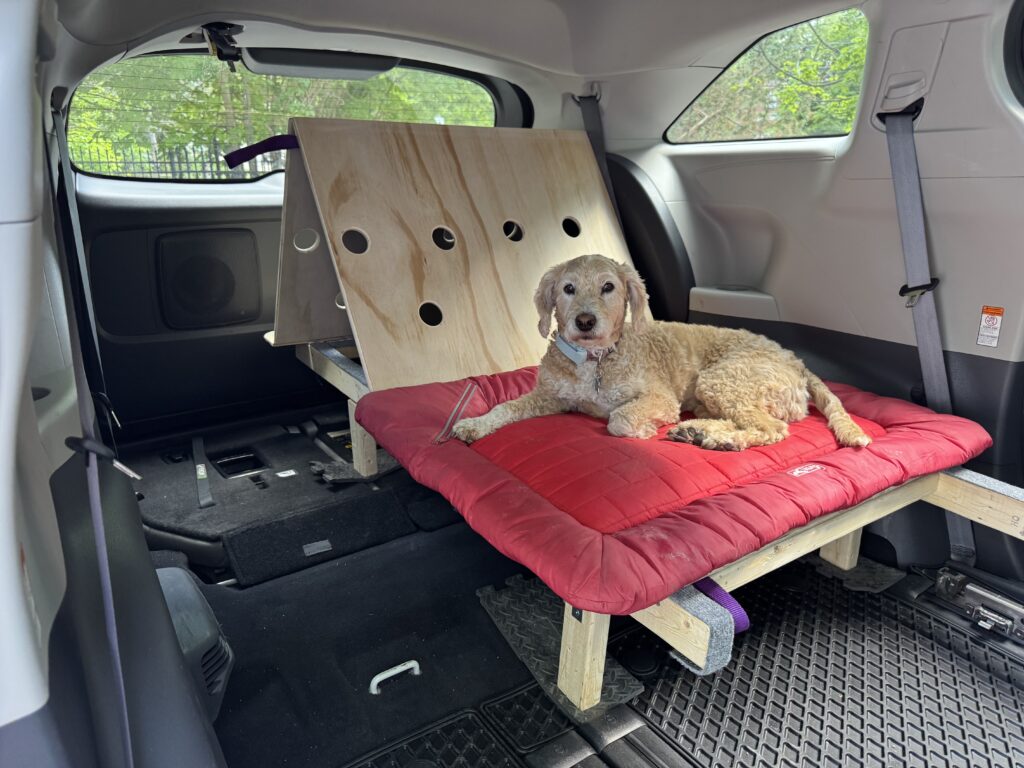
Our DIY dogpacking camper build
The aim of our conversion our aim was to keep the budget low (<$2500 CAD) and to make no permanent changes to the vehicle. Functionally, we want it to accommodate a sofa bed; our Bike Friday 20”-wheel bike; essential camping, hiking and paddling gear; a basic kitchen set-up, and our portable shower.
Second-row seat removal
Removing the 2nd row seats in the 4th generation Toyota Sienna involves the easy step of removing the middle jump seat, followed by the more involved process of unbolting the other two seats from their rails and inserting a couple of third party airbag simulators so that the airbag sensor doesn’t trigger an error message. I had a local auto shop remove the seats. For those interested in the details, this YouTube video is helpful.
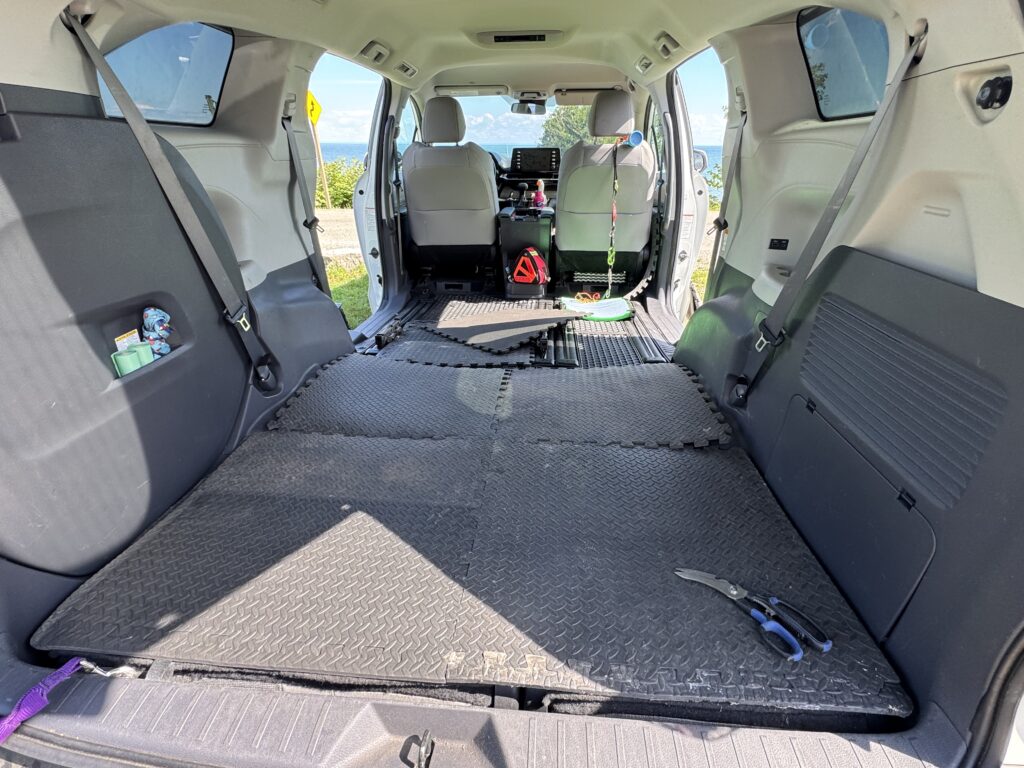
With the seats removed, we gained 16 inches of length to the cargo area. The seat rails are tricky to remove, so most people seem to either build a plywood floor over them, or works around them.
For the sake of keeping our build simple, I’ve decided to work around the rails and plan to cover them with foam.
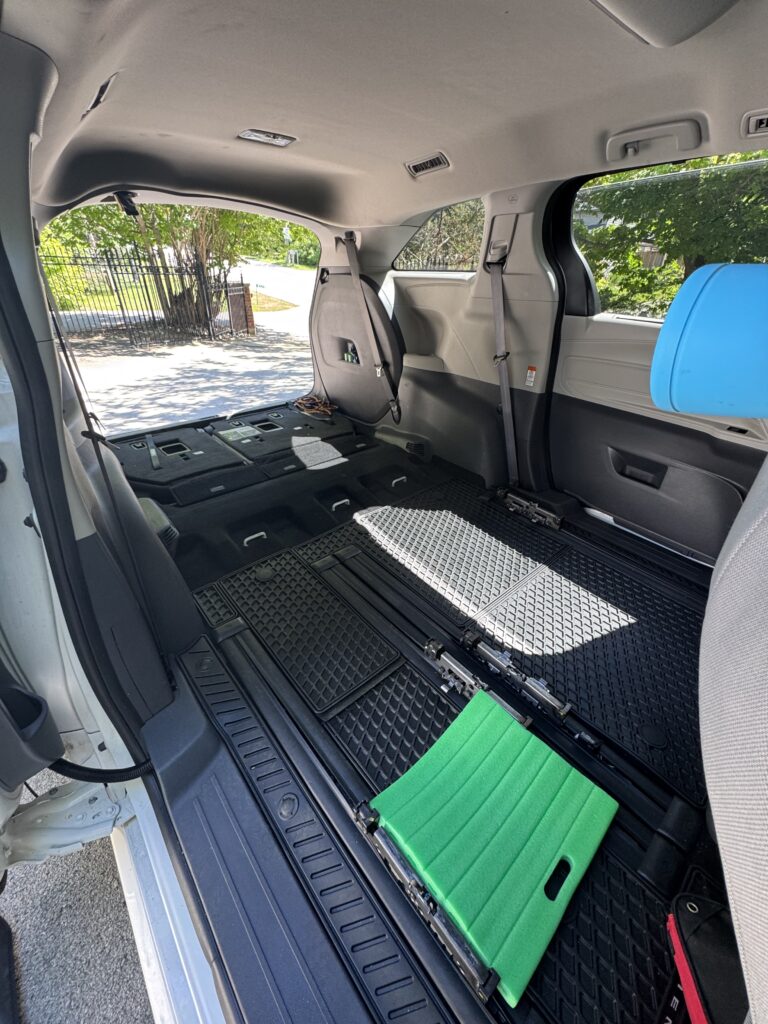
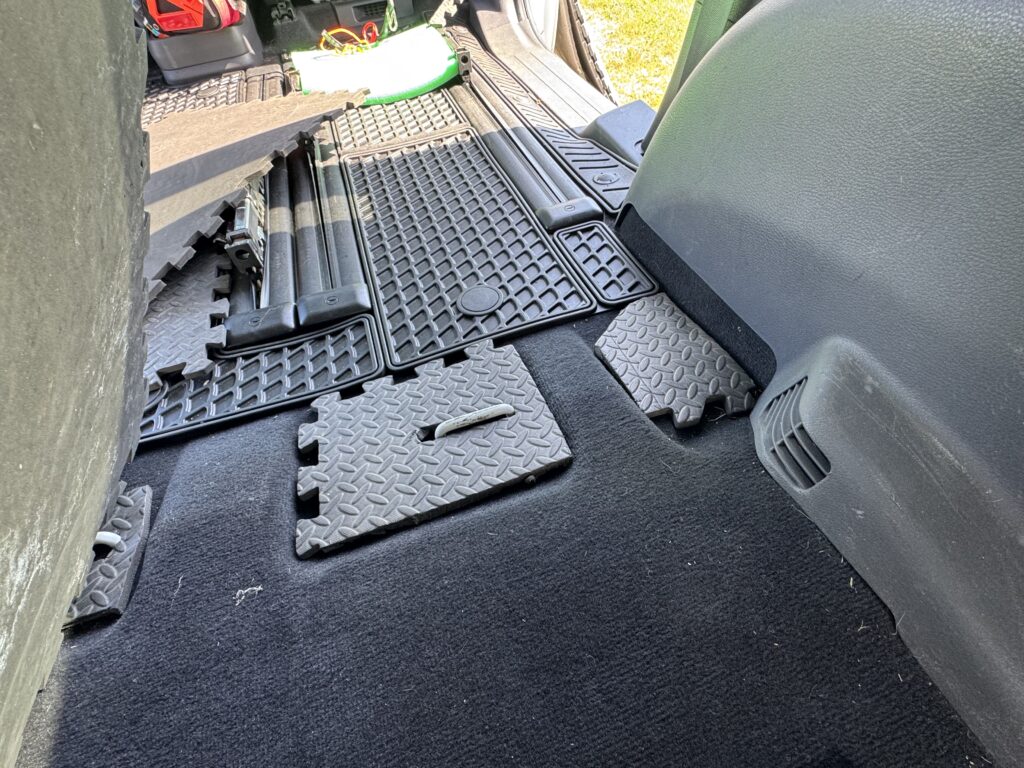
Foam flooring installation
I decided to use some interlocking closed-cell foam exercise mats which I already had on hand. It’s not a perfect solution, but for my purpose I just wanted something to protect the underlying flooring while creating a floor that was uniform and easy to clean.
First I cut pieces of foam to fill the uneven areas of the floor, then laid the gym mats on top and taped the seams on the bottom with black gorilla tape, and in heavily used areas I taped the top as well.
Next up: DIY sofa bed build
Stay tuned for our next article describing our simple sofa bed build. Meanwhile, have you done any car or van camping with your dog? We’d love to hear what’s work best for you in the comments below.
About the author
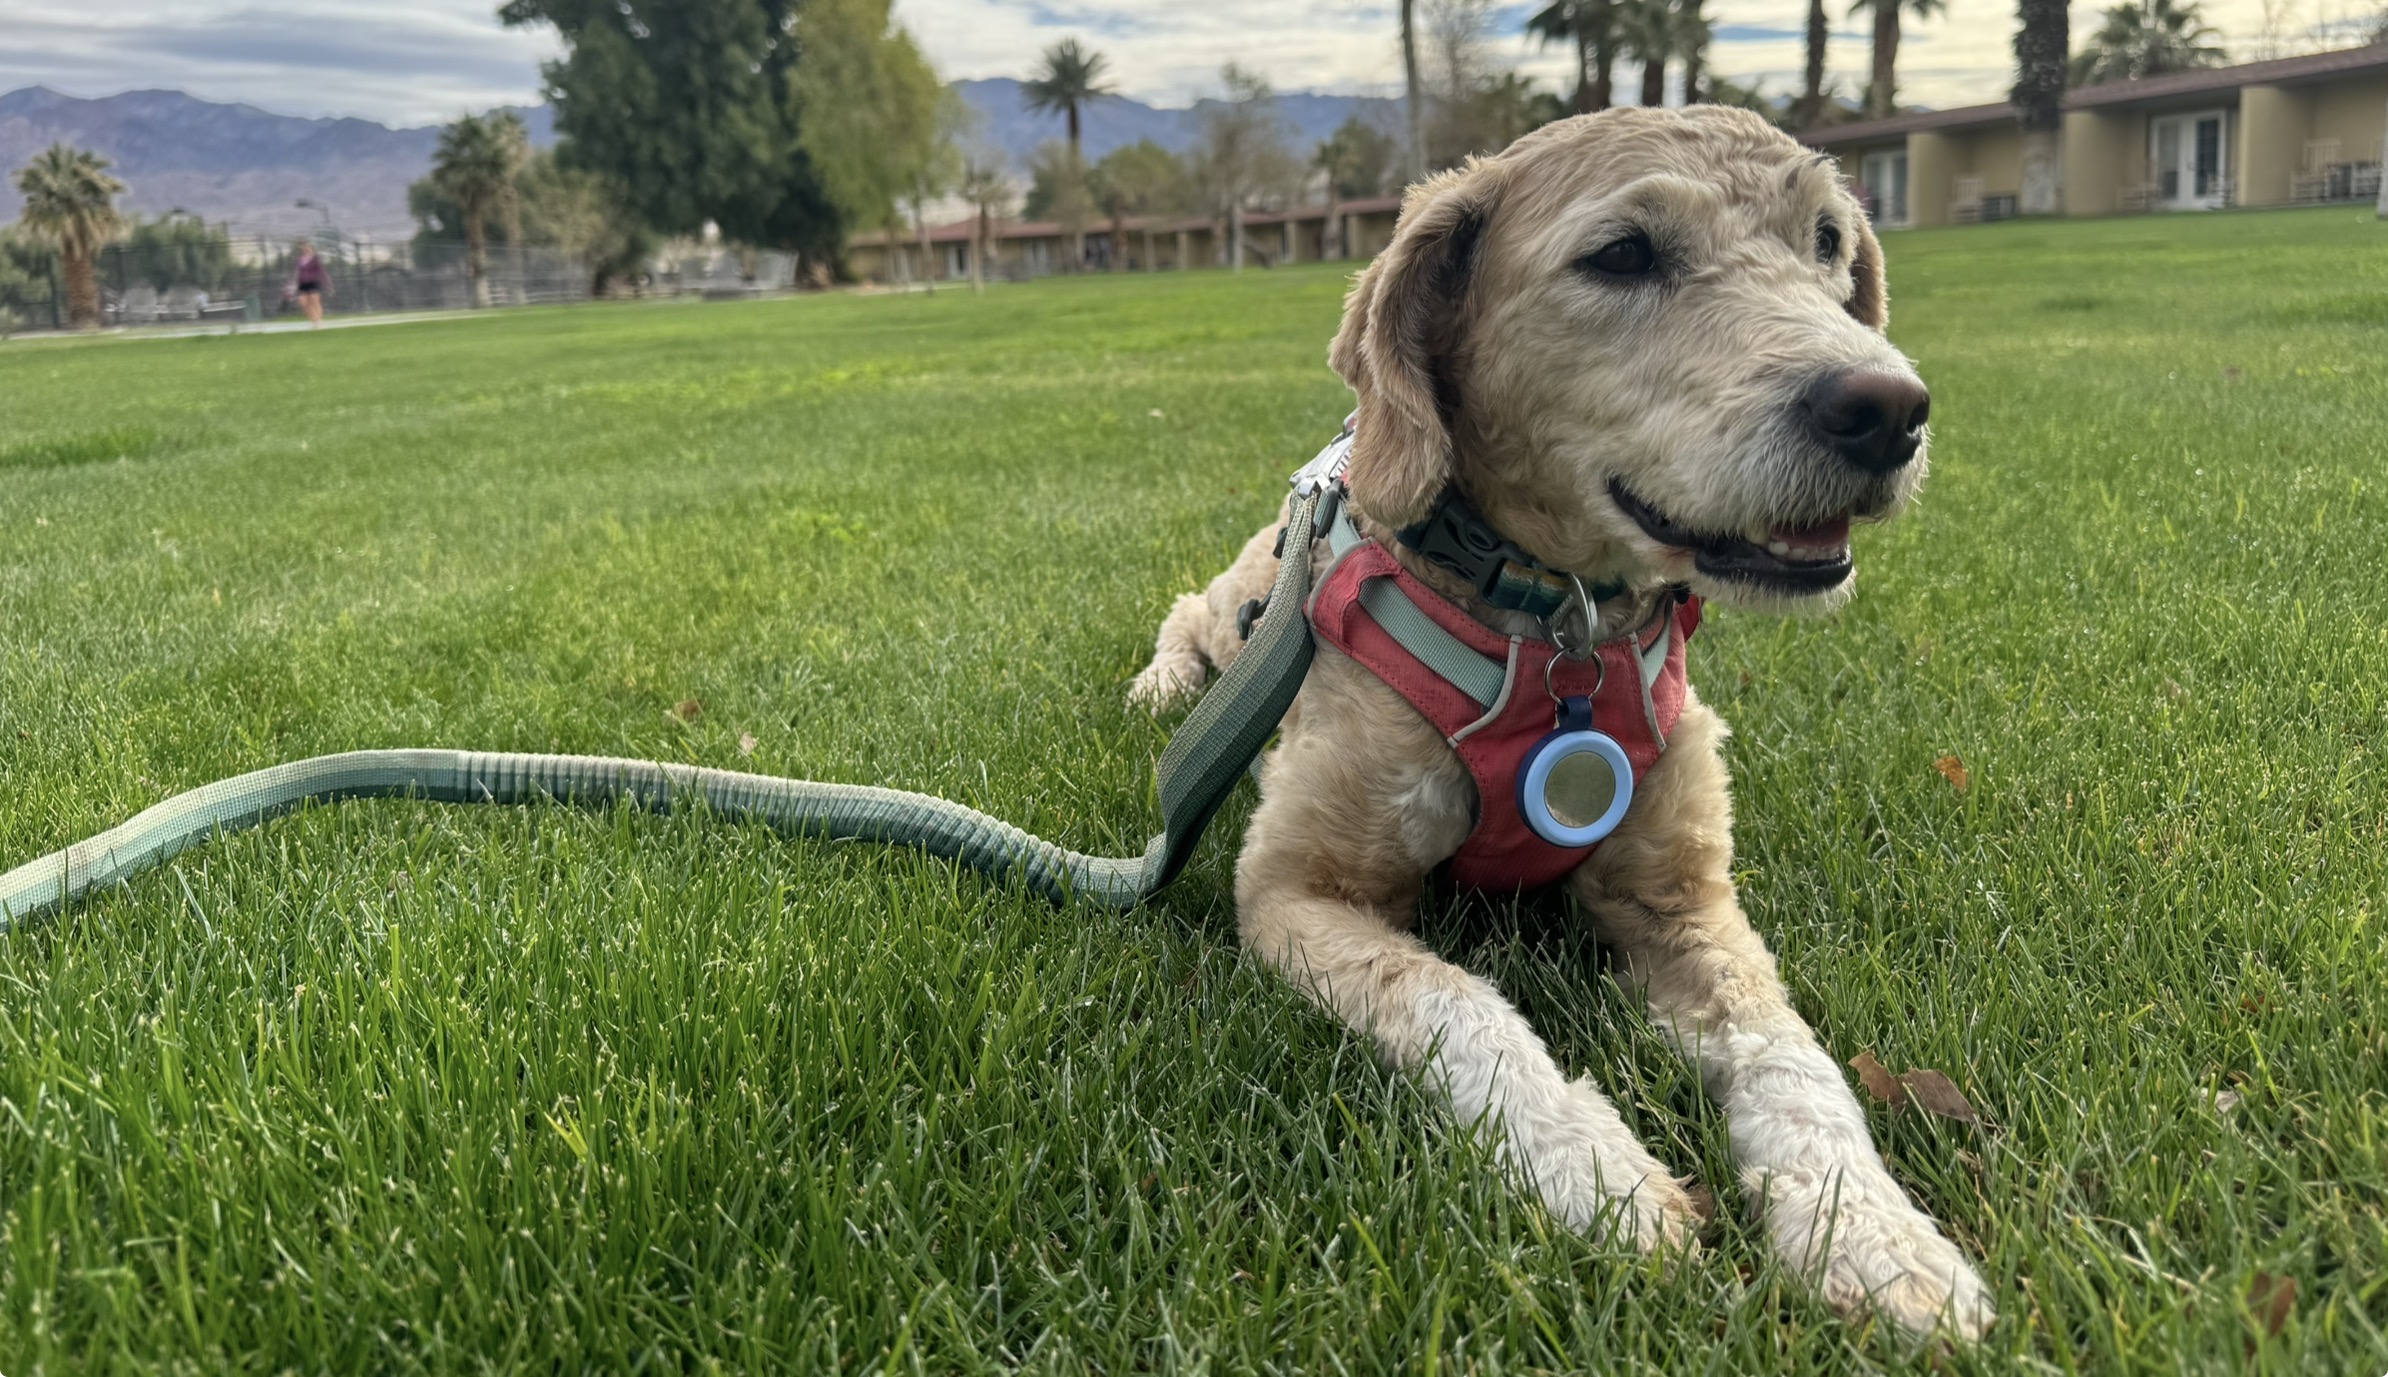
Krista Halling is a veterinarian board-certified with the American College of Veterinary Surgeons and creator of Dogpacking.com. She is also certified in the Human-Animal Bond and in Canine Physical Rehabilitation. Krista loves travelling and adventuring with River, her mini goldendoodle sidekick.

Leave a Reply